In this tutorial, I’ll be giving you a bit of a lowdown on the Fruity Limiter. Something you may have just thrown onto you Master channel, and didn’t further adjust because your mix sounded instantly better. We’ll be looking at the Loudness knobs today.
Gain
This knob boosts or cuts the sound to any value you want.
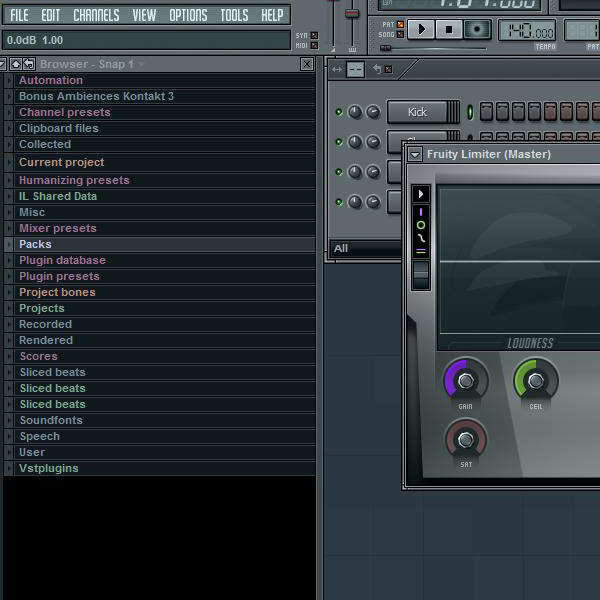
The way this knobs defaults upon start-up is at a 5.5 dB boost. This means that the overall sound is being turned up. To most people, this sounds great, and so they’ll keep creating. This can be problematic to some people, however. The result of an overall boost can be clipping. Clipping, for those who don’t know, is distortion. And distortion, as I’m sure we all know, doesn’t sound pretty. Well, maybe on guitars.
So what’s the solution, you ask? Simple. Turn the Gain knob down until the value in the upper left corner reads 0.0 dB.
You may want to add some gain to any sound that is pretty low at a normal level, and you’ve exhausted other options. Although, you probably won’t need a boost as severe as the default 5.5 dB.
Another thing to keep in mind, is that if you add gain to every channel, you will experience a very unpleasant sound known as Gain Reduction. This is when the overall signal is too loud, and to keep the sound from clipping, the sound is automatically turned down (or compressed). This is very unpleasant, and I’ll go into a bit more detail on this in a bit. Simple enough. Moving on.
Ceiling
This knob can literally be your best friend.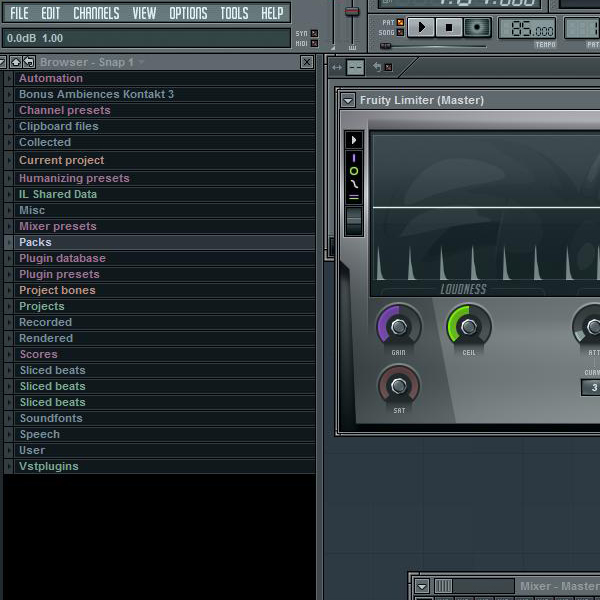
With this knob, you are giving your limiter the instruction that it cannot output a signal any louder than a value you set. For example, you’re working on a very loud hip-hop mix, but you want some headroom for mastering, so you set the Ceiling value to -2 dB. This means that no matter what, your signal will not exceed -2 dB. Ever.
This knob’s default value is 0.0 dB, but I tend to keep my Ceiling at -2 dB just to be safe when it comes time to mix down my tracks.
Now, with the Ceiling, you can put this on each channel as a way of limiting the output of each one. This can be used to effect, and indeed, be quite handy. Some people I know would do something similar to this when mixing, but instead, use a Compressor with a Ceiling function, and it would effectively do the job.
Also, if you were to put a limiter on each track, you would not have a quite as heavy gain reduction sound on the master channel. When used right, the Ceiling function can bring balance to your tracks.
Saturation
Admittedly, this is the knob I’ve used the least…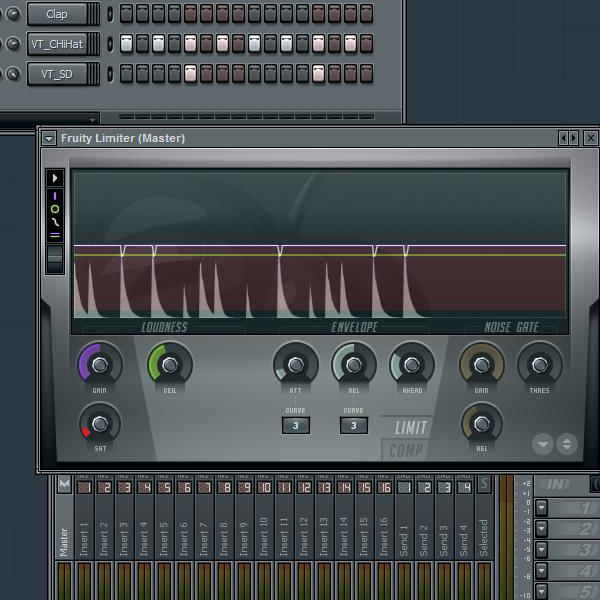
This adds a bit of distortion to your signal. It defaults to being muted, but in turning the knob counterclockwise, you can color your sound for a unique blend of the original sound, and lightly distorted for effect.
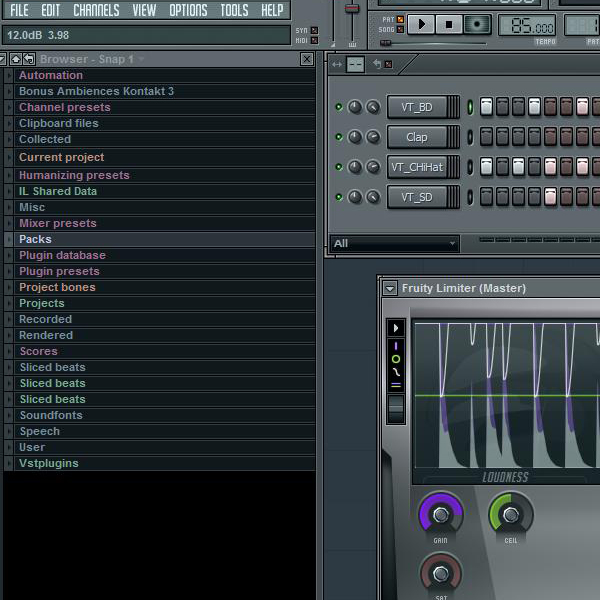
Here’s a prime example for you. I’ve created this drum pattern. And, as you can see on the Gain knob, I’ve boosted the signal to 12 dB, so you can hear the Saturation effect.
With this example, I’ve chosen to just solo the HiHats, as you could hear the effect better. So, below, is the audio loop. The first half is without the Saturation, and the second with it.
Download audio file (HiHat_Tutorial_Loop.mp3)
Could you hear the difference?
Gain Reduction
Here’s an example of what I was saying about Gain Reduction. Here’s the same drum pattern as before. I’ve set the Limiter on the Master Channel to it’s default settings. With the Gain set as high as it is with the Ceiling where it’s at, the result is an extreme amount of Gain Reduction as seen in the peaks below: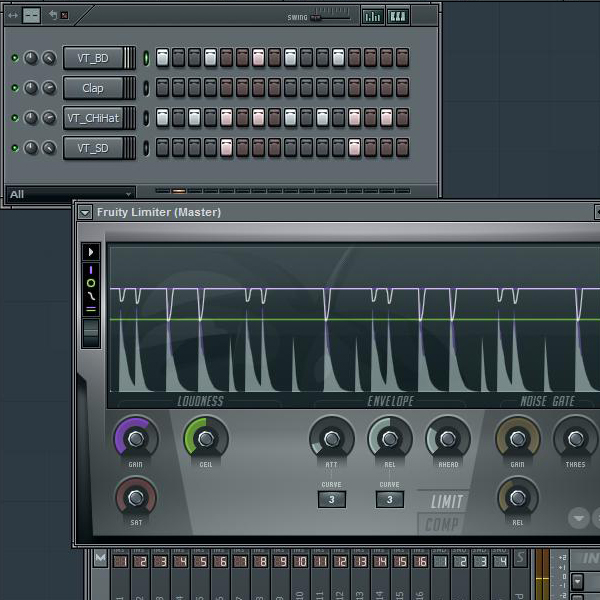
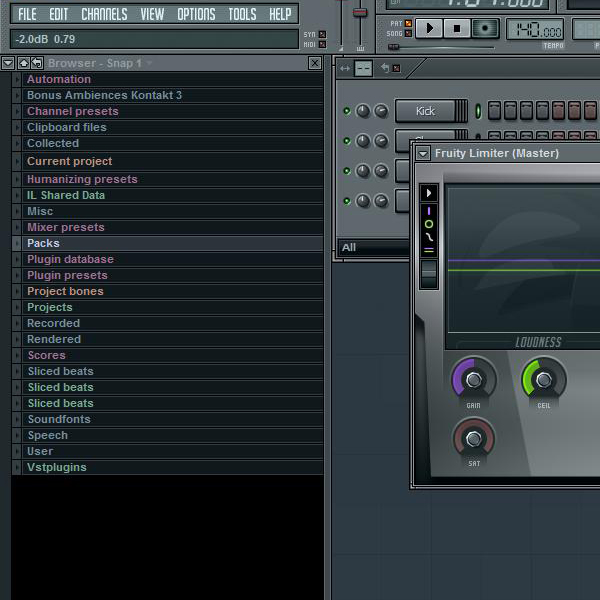
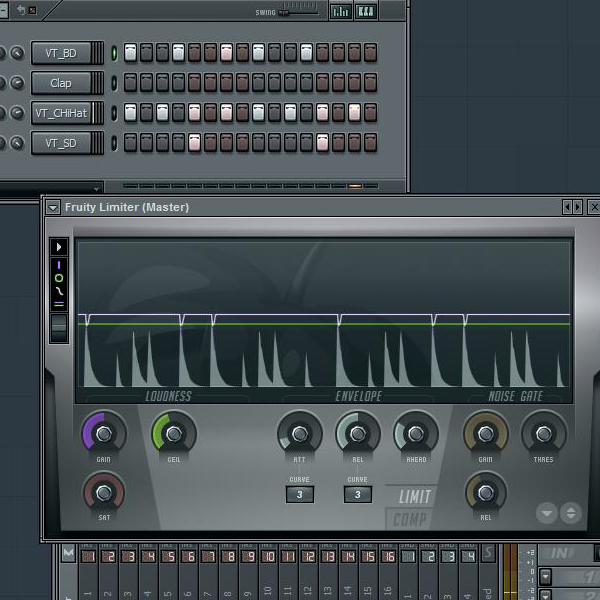
Now, I’ve turned the Gain back down to 0.0 dB, and the Ceiling down to -2.0 dB. Take a look at how much less Gain Reduction there is, now that I’ve set the levels considerably lower.
Bonus Tip
To revert any knob to its default value, simply right-click the knob and select “Reset.”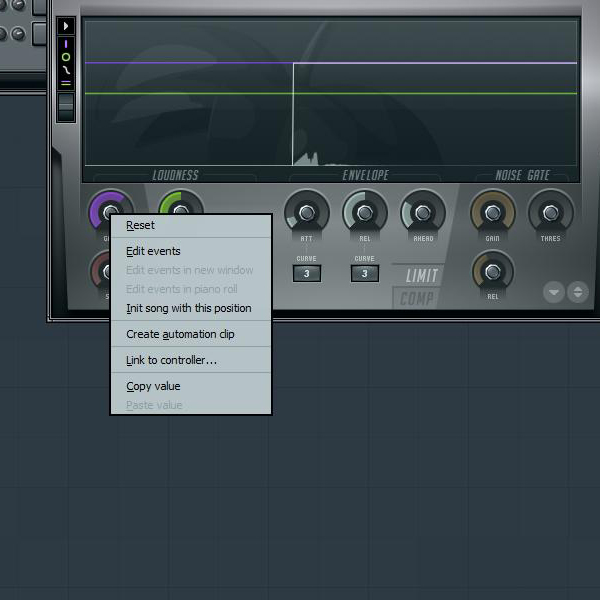
Hope this helped you understand your Fruity Limiter just a little bit more.